![]()
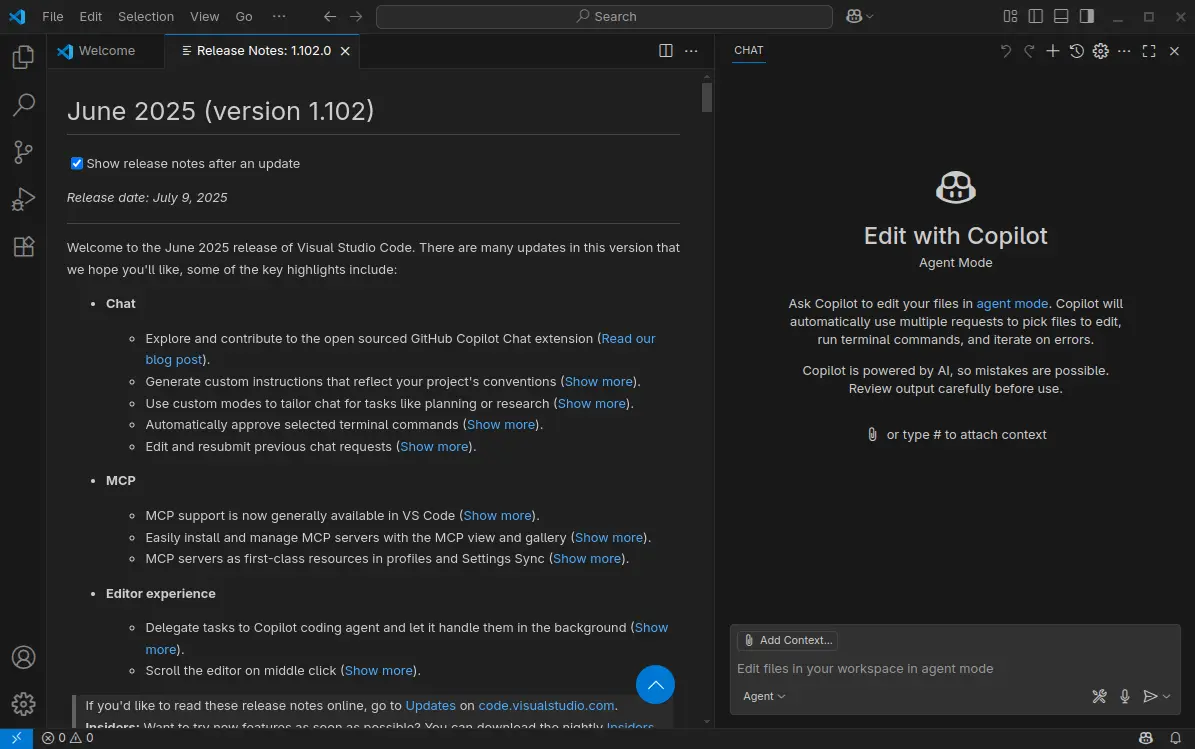
VS Code 1.102, the June release of Microsoft’s IDE, was released few days ago on Wednesday.
Since the release, Copilot Chat is finally open-sourced under the MIT license. And, the source code, is available at this github page.
News, Tutorials, Howtos for Ubuntu Linux
Free open-source software updates and Linux news
![]()
VS Code 1.102, the June release of Microsoft’s IDE, was released few days ago on Wednesday.
Since the release, Copilot Chat is finally open-sourced under the MIT license. And, the source code, is available at this github page.

![]()
Ubuntu 24.10, codename “Oracular Oriole”, has reached end of its life. Users are recommended to either upgrade to Ubuntu 25.04 or install Ubuntu 24.04 LTS.
Ubuntu 24.10 is the last Ubuntu version released in October 2024. It’s a short-term release with 9-month support cycle.
The developer team has announced the 24.10 end of life few weeks ago.
Continue Reading…
![]()
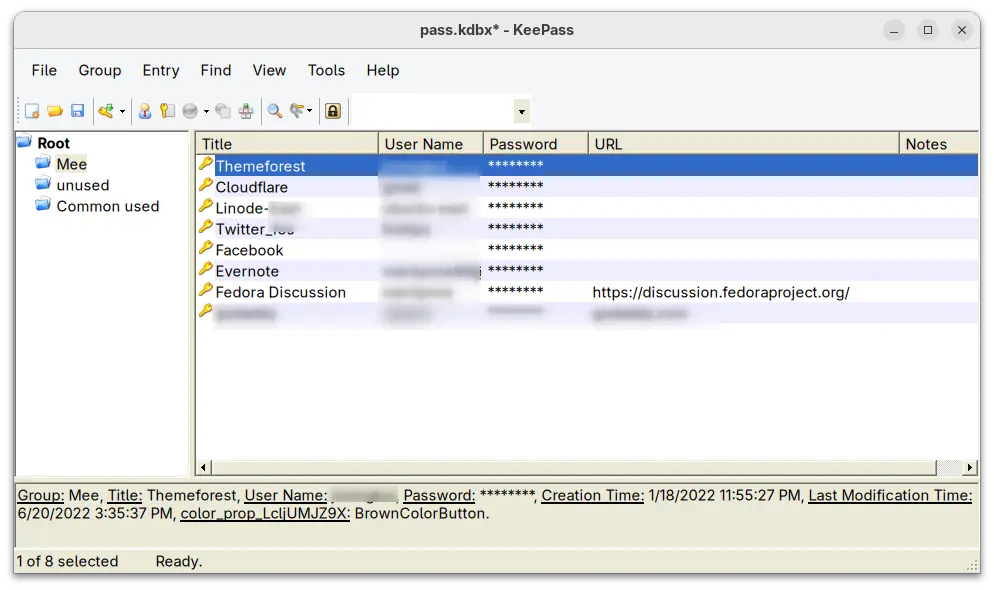
KeePass, the popular lightweight password manager application, released new 2.59 version one day ago.
The new release of this free open-source app enhanced ARM64 CPU architecture type support, introduced code optimizations, performance improvements, and some bug-fixes.
![]()
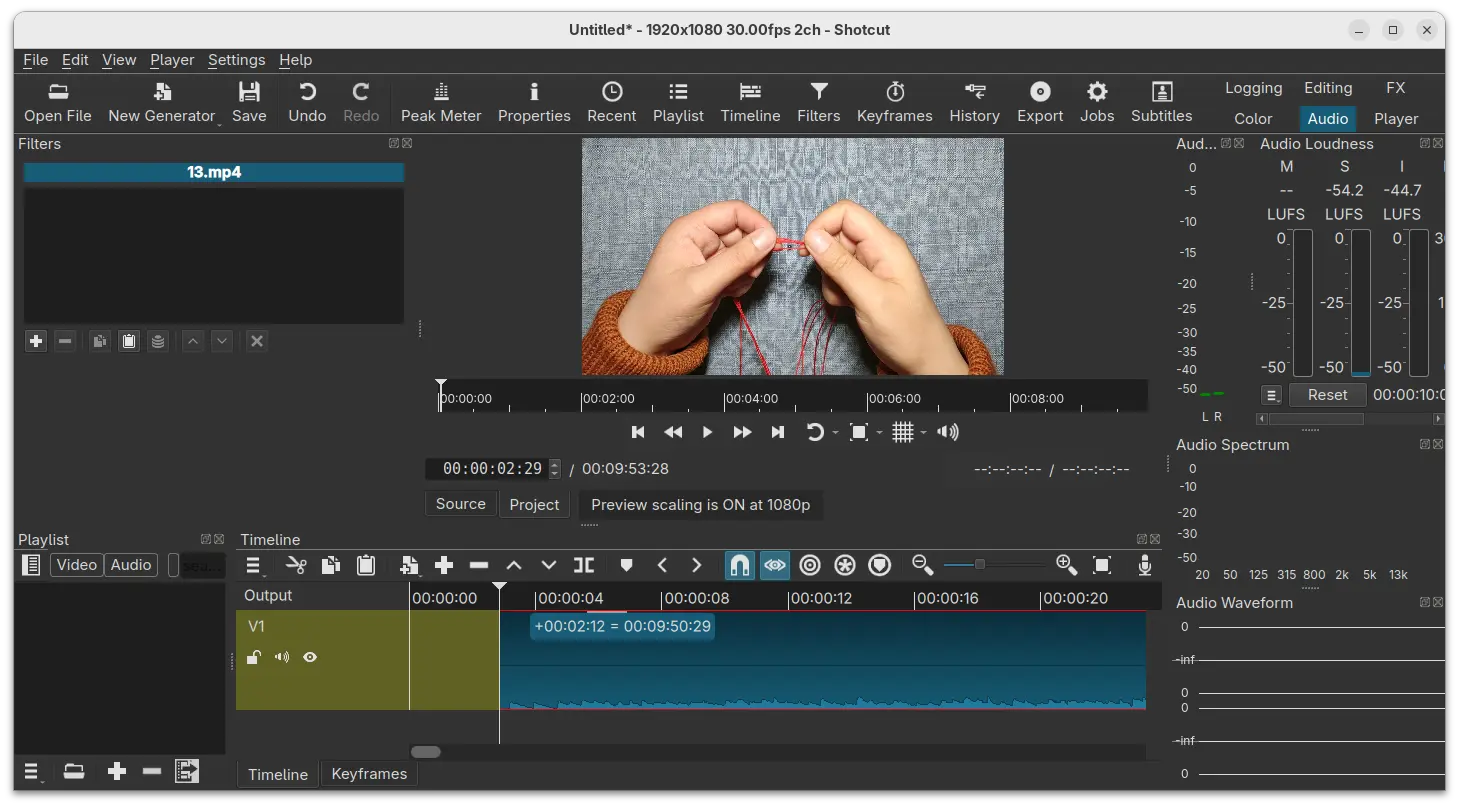
Shotcut, the free open-source Qt-based video editor, released the Beta for next 25.07 few days ago.
The new release of the cross-platform video editor fixed various bugs, and introduced new features to enhance video editing experience.
![]()
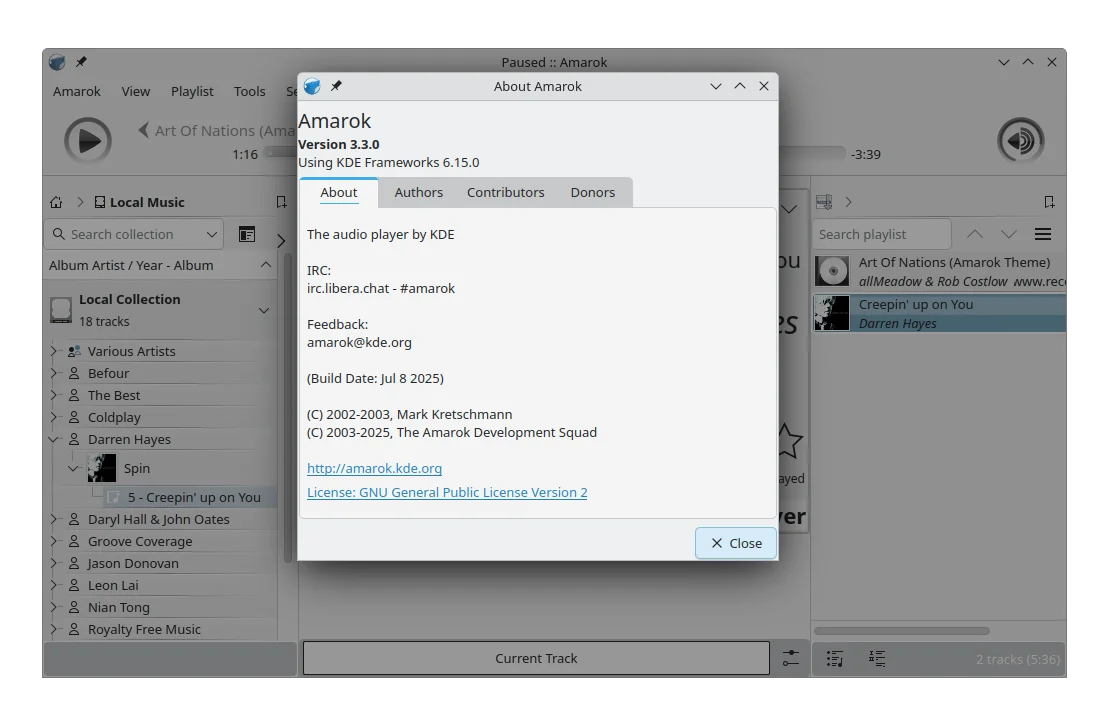
Amarok, the free open-source KDE music player, released new 3.3 version on Tuesday, named “Far Above the Clouds”.
Amarok is one of the oldest Linux music player started in 2003. It’s revived in last year with port to Qt5 and KF5. By releasing v3.3, Amarok is now ported to Qt6/KF6, while Qt5/KF5 support has been dropped.
![]()
After more than a month of Beta and RC testing, OBS Studio 31.1.0 finally officially released today!
The new release of this popular free open-source live streaming and screen recording software added many new features, various improvements, and dozens of bug-fixes.
![]()
The first alpha release of GNOME Desktop 49 is out for testing purpose!
The developer team announced the release of this alpha one day ago. And, if everything goes well, GNOME 49 will be default in Ubuntu 25.10 and Fedora Workstation 43.

![]()
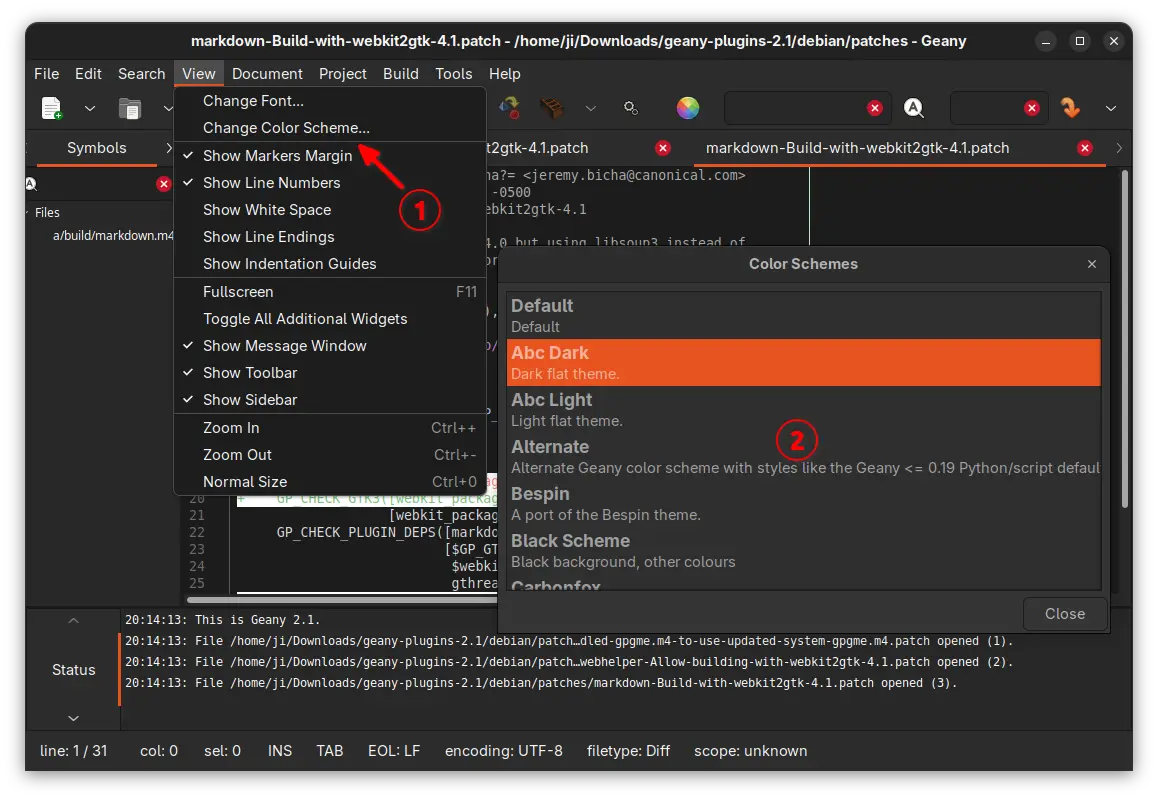
After more than one and half year of development, the free open-source geany text editor released new major 2.1 version!
The new release of this lightweight IDE is named “Yage”. It added geany-themes, the separated color schemes in built-in.
Meaning users can now easily change the color scheme from “View” menu, without downloading & installing the themes manually.
![]()
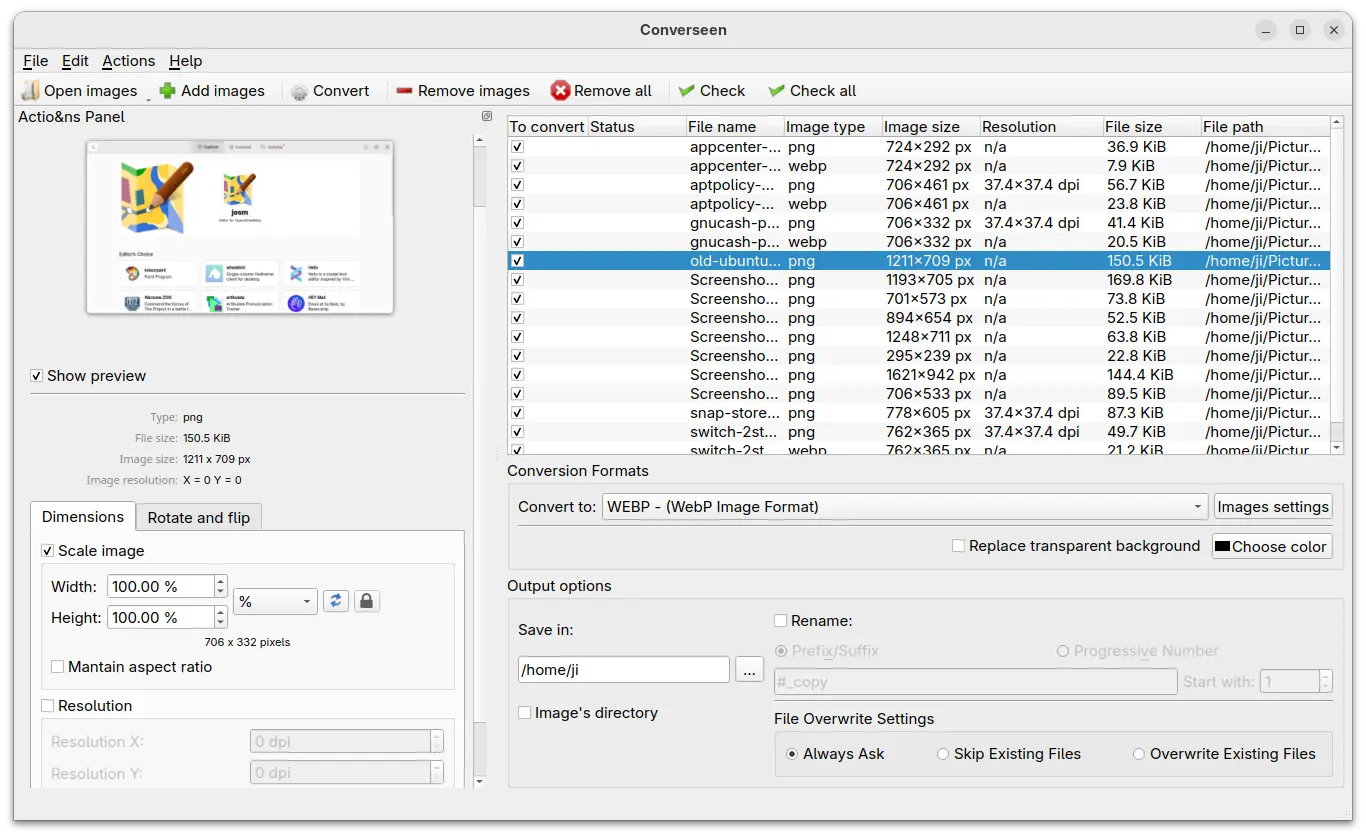
Converseen, the popular batch image converting / resizing application, released new 0.15.0.0 version yesterday.
The new release of this popular free open-source app finally added options to choose a different theme, though only few choices are available so far.
![]()
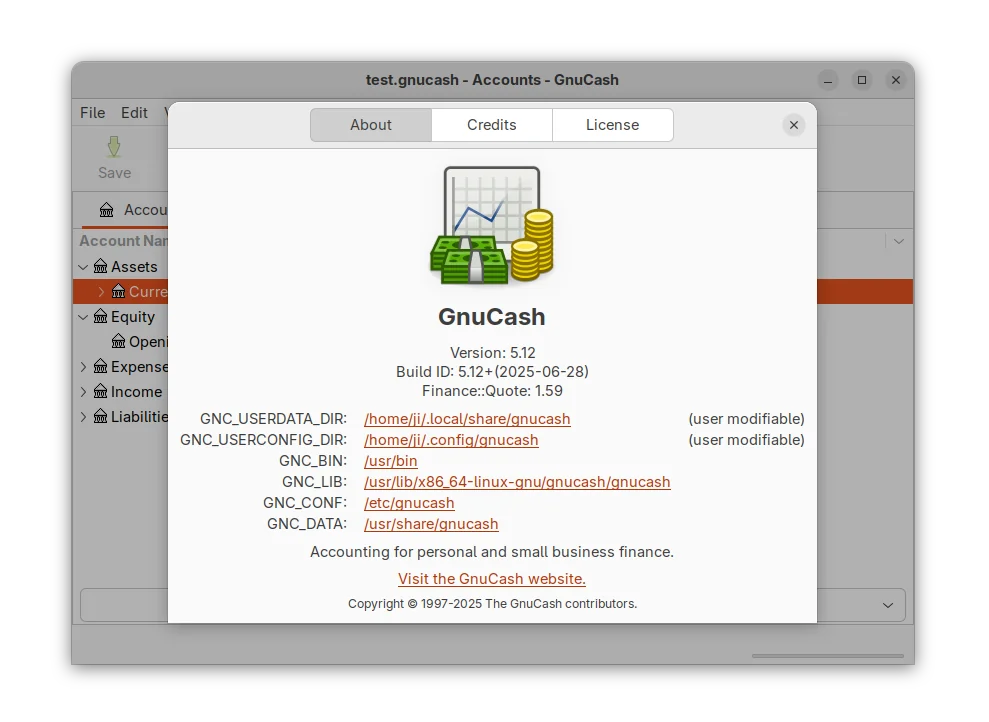
GnuCash, the popular free open-source accounting software, released new 5.12 version yesterday.
This is the twelfth point release for 5.x release series that introduced various bug-fixes, improvements, and translation updates. And, for Ubuntu users, the “Gnucash packaging team” PPA revived.