Free and open-source planetarium software, Stellarium 0.18.1, was released 2 days ago with new features, many improvements and lots of bug-fixes.
The major changes in Stellarium 0.18.1 include:
- Improvements and fixes for Hierarchical Progressive Surveys [HiPS] support
- Updated the main UI, code of plugins, code and data.
- Updated GPS handling
- Added rise, transit and set times for celestial objects
- Added dithering support
- Many other improvements and various bug-fixes.
- See the release note for details.
How to Install Stellarium 0.18.0 in Ubuntu:
The software has an official PPA repository that contains the latest Stellarium packages for Ubuntu 16.04, Ubuntu 17.10, Ubuntu 18.04.
1. Open terminal either via Ctrl+Alt+T or by searching ‘terminal’ from app launcher. When it opens, run command to add the PPA:
sudo add-apt-repository ppa:stellarium/stellarium-releases
Input your password (no visual asterisks feedback while typing) when it prompts and hit Enter.

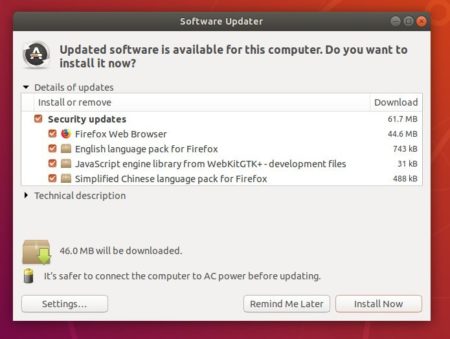
2. Then upgrade Stellarium from an existing release with Software Updater utility:

Or run following commands to install the software for the first time:
sudo apt-get update

sudo apt-get install stellarium
Uninstall:
To remove the software, either use your system package manager or run command:
sudo apt-get remove --autoremove stellarium
And remove the PPA via “Software & Updates” utility under Other Software tab.