![]()
Shotwell, an open-source Gnome photo manager, has reached the 0.25 release with various improvements, bug-fixes, and translation updates. Here’s how to install or upgrade it in Ubuntu 16.04 and / or Ubuntu 16.10.
As a frequent updated software, Shotwell 0.25.0 is a ‘big’ release with following changes:
- Add contrast to improvements
- Add a log when shifting events
- Add a debug output of the current timezone
- Fix compilation with recent Vala compiler
- Fix focus handling of full-screen viewer
- Remove obsolete CSS style property
- Support ACDSEE tags
- Use unicode characters
- Remove deprecated calls
- Silence two C warnings that are usually caused by valac
- Refactor web authenticator
- Spelling fixes
- Piwigo: Add option to override SSL certificate handling
- Piwigo: Add option to show the SSL certificate
- Remove an old GTK+ work-around
- Remove deprecated GSettings calls
- Persist export dialog settings
- Remove deprecated elements from export dialog
- Port web plugins to new libsoup API
- Fix libraw binding
- Piwigo: Fix new album creation
- Blacklist vaapi decoder to prevent crashes in video meta data extraction
- Hide “Folder” side-bar when empty
- Enable SQL debugging through environment variable
How to install Shotwell 0.25 in Ubuntu:
The official Shotwell binaries for Ubuntu are maintained in the PPA repository. However, it seems to be an auto-build PPA and the 0.25.0 builds are broken due to the updated dependencies.
1. Open terminal (Ctrl+Alt+T) and run command to add PPA:
sudo add-apt-repository ppa:yg-jensge/shotwell

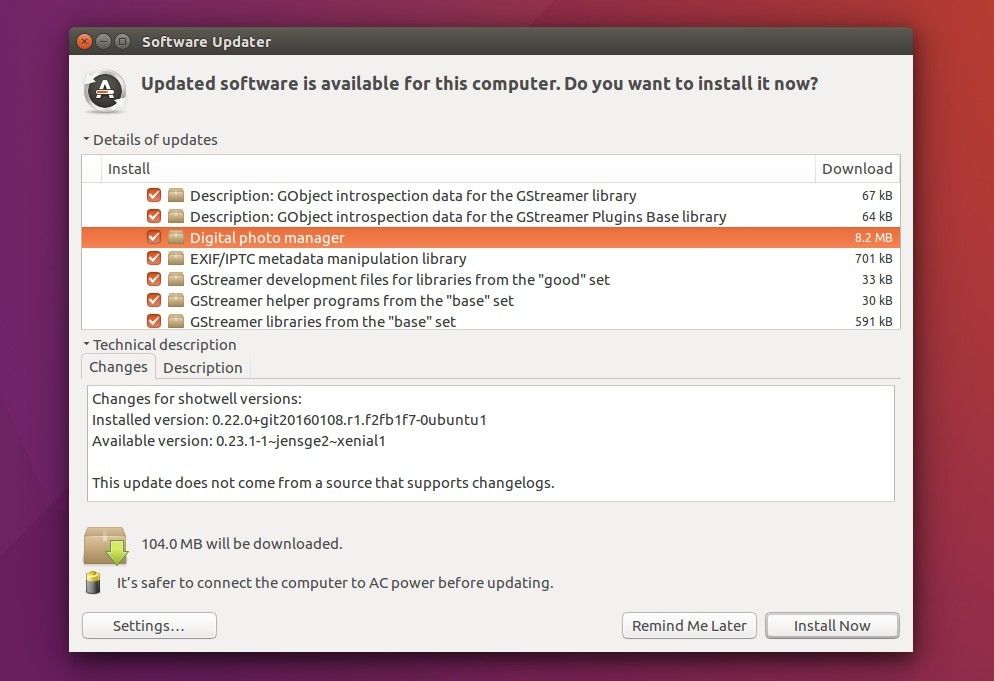
2. To upgrade Shotwell from a previous, launch Software Updater and install available updates.
NOTE: To undo the installation, and downgrade shotwell to the stock version in your Ubuntu repository, run command to purge the PPA:
sudo apt install ppa-purge && sudo ppa-purge ppa:yg-jensge/shotwell