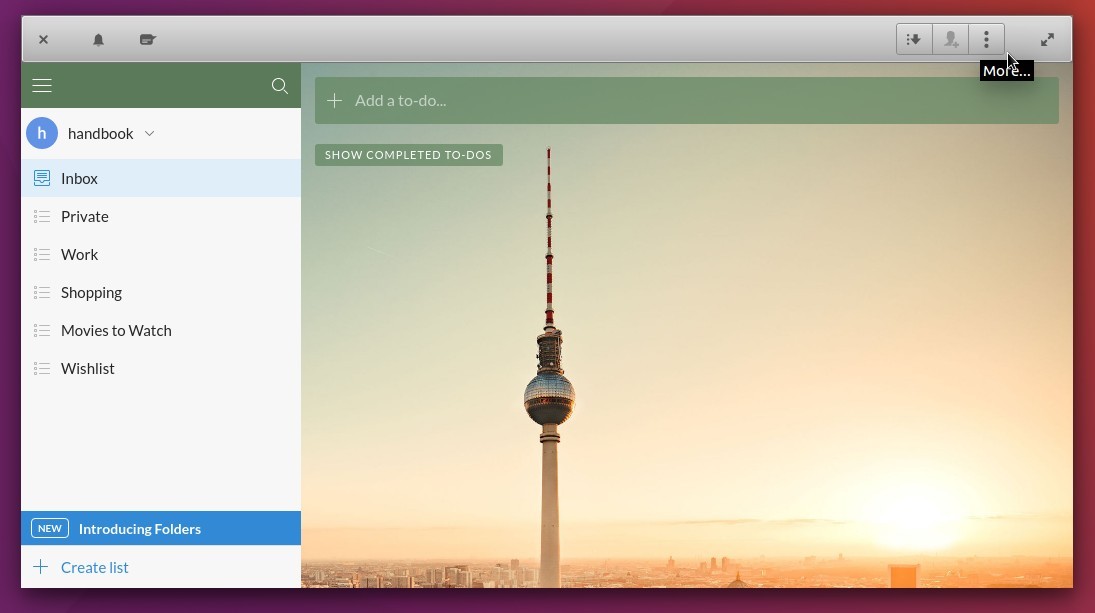
Wunderlistux is an open-source electron wrapper for the free Wunderlist task management software, that is specially designed for Elementary OS.
The app uses the elementary (sic) GTK theme and icons and looks awesome indie in elementary OS Loki. It also works in Ubuntu 16.04 in my test though it lacks application icon.
How to Install Wunderlistux in Ubuntu / Elementary OS (64-bit only):
Download the source (.zip or .tar.gz) from the link below:
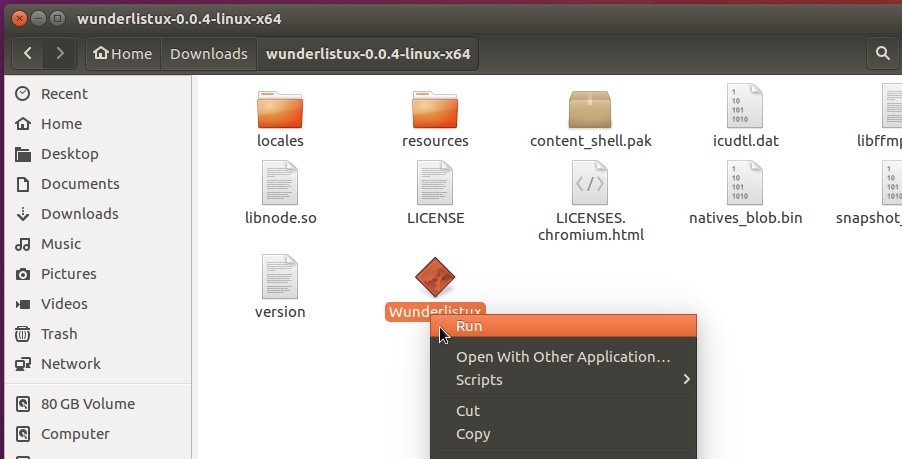
Extract and run the executable from the result folder will launch the software:
To install an application shortcut:
1. Open terminal (Ctrl+Alt+T) and run command to open the source tarball via root:
gksudo file-roller ~/Downloads/wunderlistux-0.0.4-linux-x64.tar.gz
Change the package name “wunderlistux-0.0.4-linux-x64.tar.gz” in the code to yours. And install gksu via command sudo apt install gksu if need.

When the source opens via Archive Manager, do:
- rename the source folder to wunderlistux
- extract it to other location -> Computer -> /opt/
So finally you installed Wunderlistux into /opt for global use:

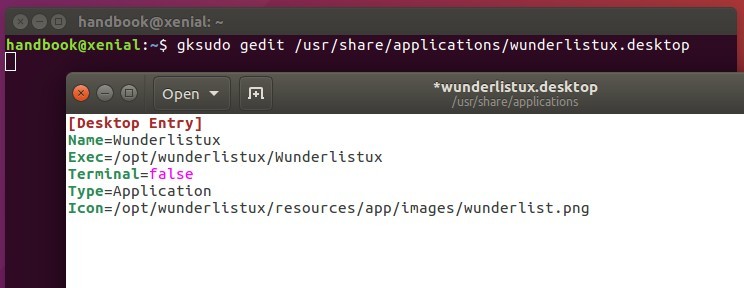
2. Now run command to create a shortcut file:
gksudo gedit /usr/share/applications/wunderlistux.desktop
When the file opens, paste below lines and save it.
[Desktop Entry]
Name=Wunderlistux
Exec=/opt/wunderlistux/Wunderlistux
Terminal=false
Type=Application
Icon=/opt/wunderlistux/resources/app/images/wunderlist.png
Now you should be able to launch the software from Unity Dash or Application Launcher. Enjoy!
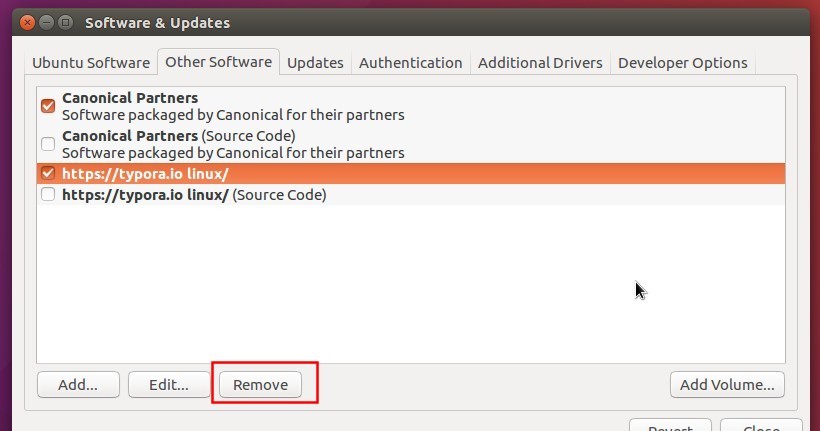
(Optional) If you want to remove Wunderlistux, simply remove the .desktop file and source folder from /opt via command:
sudo rm -rf /opt/wunderlistux && sudo rm -rf /usr/share/applications/wunderlistux.desktop