![]()
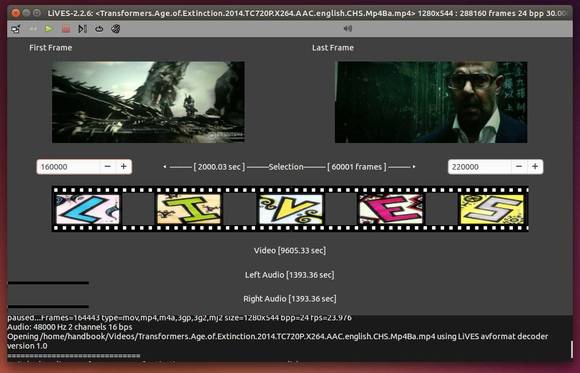
LiVES, a free video editing system and VJ tool, now is at version 2.2.6, which updates for gtk+ >= 3.10.0.
LiVES is designed to be simple to use, yet powerful. It is small in size, yet it has many advanced features.
- cross-platforms.
- Support multiple video formats via mplayer, mplayer2.
- Extendable video and audio effects via plugins.
- Support for remote control via OSC protocol.
- Video capture from FireWire cameras and TV cards.
- Lossless backup and crash recovery.
The latest release 2.2.6 was released on Aug 16, with below changes:
- Fix startup bug (regression) creating config file incorrectly.
- Libav compatibility fixes.
- Updates for gtk+ >= 3.10.0
- Show warning when configured with gtk+ 3.10.x
- Add support for freenect camera.
- Minor code cleanups.
Install / Upgrade to LiVES 2.2.6 in Ubuntu:
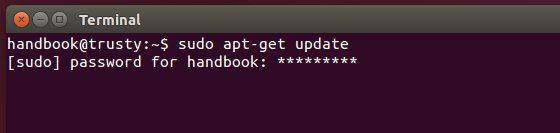
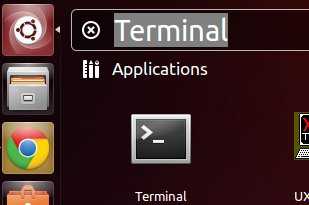
For Ubuntu 14.04, Ubuntu 12.04 and their derivatives, press Ctrl+Alt+T on keyboard to open terminal. When it opens, run the commands below one by one to get this release from PPA:
sudo add-apt-repository ppa:ubuntuhandbook1/lives

sudo apt-get update

sudo apt-get install lives
(Optional) If for some reason you want to remove it, run below commands one by one:
sudo apt-get remove lives

sudo add-apt-repository -r ppa:ubuntuhandbook1/lives

sudo apt-get update
Above commands will remove LiVES as well as the PPA from your system and update the package lists.