![]()
This quick tutorial shows you how to install the latest Bluefish editor (2.2.6 so far) in Ubuntu 14.04 / Ubuntu 12.04 and keep it up-to-date via its official PPA.
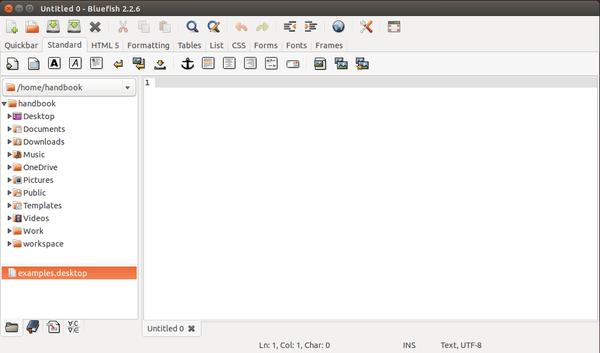
Bluefish is a free and open source advanced text editor with a variety of tools for programming in general and the development of dynamic websites. It supports development in (among others) HTML, XHTML, CSS, XML, PHP, C, C++, JavaScript, Java, Google Go, Vala, Ada, D, SQL, Perl, ColdFusion, JSP, Python, Ruby and shell.
Bluefish is available in Ubuntu universe repositories, but it’s always a little old. Below is how to add Bluefish’s official PPA repository and receive future updates by running regular Ubuntu updates via Software Updater.
1. Press Ctrl+Alt+T on keyboard to open the terminal. When it opens, paste below command and hit enter. It will add the PPA into your system after typing your password (If you’re asked).
sudo add-apt-repository ppa:klaus-vormweg/bluefish
If you’re running on non-GTK3 environment like simple window managers, use the GTK2 PPA instead:
sudo add-apt-repository ppa:klaus-vormweg/bluefish-gtk2
2. Update the package lists so that you can install the editor from that repository:
sudo apt-get update
3. Finally you can install the latest Bluefish through your package manager, or run:
sudo apt-get install bluefish
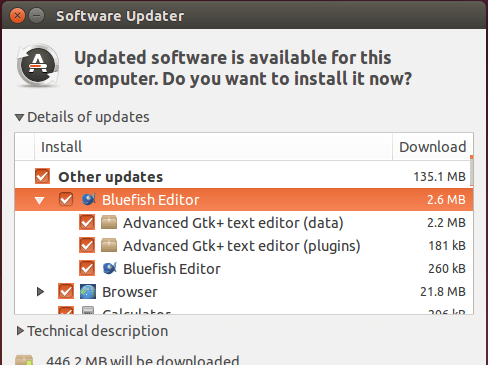
If you have a previous version installed, upgrade it through Software Updater after checking for updates: