This quick tutorial is going to show you how to install Subsonic music streamer 4.8 in Ubuntu 13.10 Saucy Salamander & Linux Mint 16 Petra via getdeb repository.
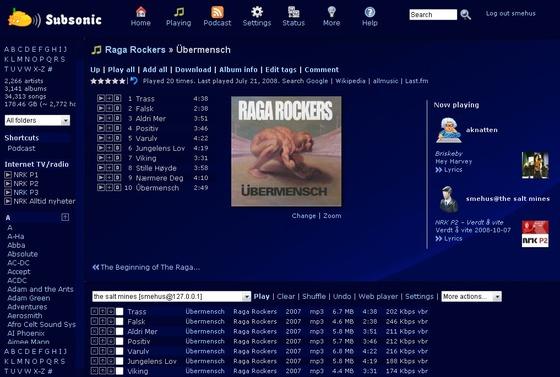
As you may know, Subsonic is a free, web-based media streamer, providing ubiquitous access to your music. Use it to share your music with friends, or to listen to your own music while at work. You can stream to multiple players simultaneously, for instance to one player in your kitchen and another in your living room.
Subsonic is designed to handle very large music collections (hundreds of gigabytes). Although optimized for MP3 streaming, it works for any audio or video format that can stream over HTTP, for instance AAC and OGG. By using transcoder plug-ins, Subsonic supports on-the-fly conversion and streaming of virtually any audio format, including WMA, FLAC, APE, Musepack, WavPack and Shorten.
Install Subsonic:
1. Press Ctrl+Alt+T on your keyboard to open terminal. When it opens, run 2 commands to add getdeb repository:
wget http://archive.getdeb.net/install_deb/getdeb-repository_0.1-1~getdeb1_all.deb

sudo dpkg -i getdeb-repository_0.1-1~getdeb1_all.deb
For Linux Mint, there’s an option under ‘Software & Sources -> Additional repositories’ allows to easily enable / disable this repository.
2. Use synaptic package manager to install Subsonic. Or run commands below instead:
sudo apt-get update; sudo apt-get install -y subsonic