![]()
Boring with the default startup animation in Ubuntu? Here’s step by step guide shows you how to install and change the theme in Ubuntu 24.04, Ubuntu 22.04, and Ubuntu 20.04.
The startup (and shutdown, reboot) animation screen is handled by Plymouth. Plymouth supports themes, and the default is bgrt in Ubuntu.
If you just want to replace or disable the manufacturer logo, then I’ve written a how to guide in this page. While, here I’m going to show you how to completely replace it with another one.
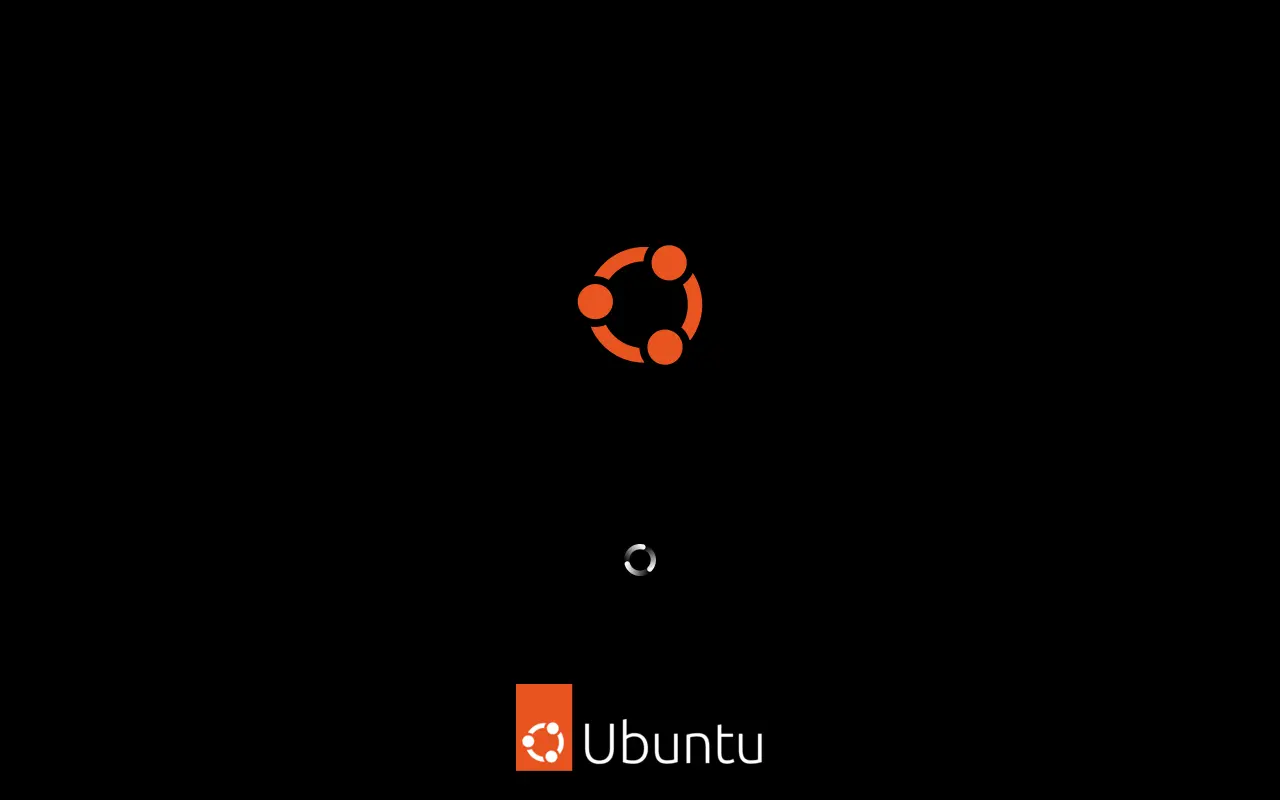
Ubuntu default boot animation screen
Continue Reading…