![]()
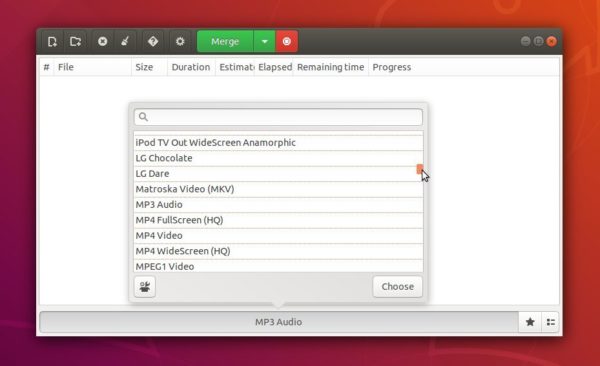
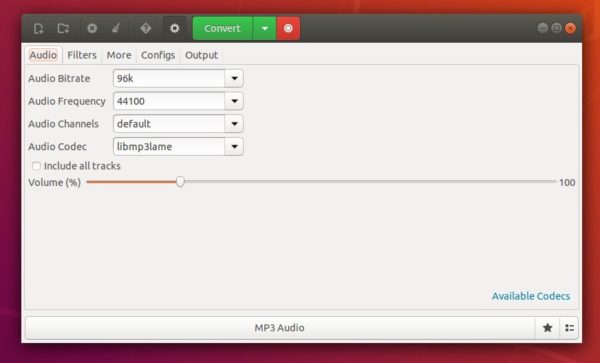
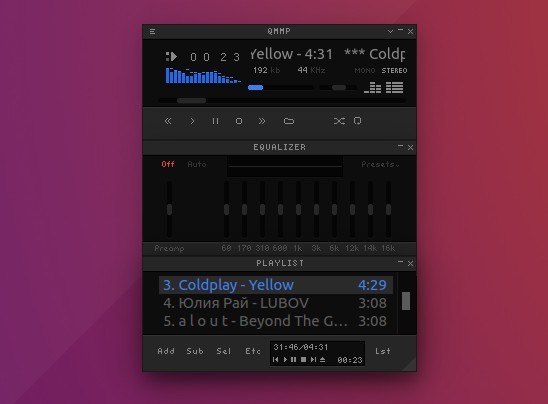
Qmmp, a Qt audio player with winamp or xmms like interface, has reached the 1.2.2 release a few days ago.
Qmmp 1.2.2 is the Qt5 release that:
- fixed build with Qt 5.11;
- fixed memory leaks.
A little different to previous releases, there’s no update for Qt4 release (Qmmp 0.11 series) along with Qmmp 1.2.2.
How to Install Qmmp 1.2.2 in Ubuntu 18.04/16.04:
The software has an PPA repository that offers the Qmmp 1.2.2 packages for Ubuntu 16.04, Ubuntu 17.10, and Ubuntu 18.04.
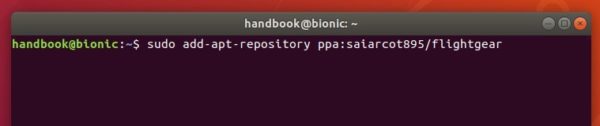
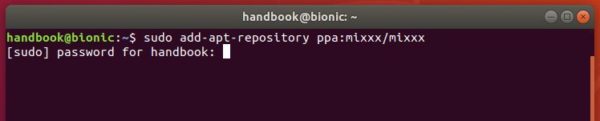
1. Open terminal via Ctrl+Alt+T or from app launcher, and then run command to add the PPA:
sudo add-apt-repository ppa:forkotov02/ppa
Input your password (no visual feedback while typing) and hit Enter to continue.

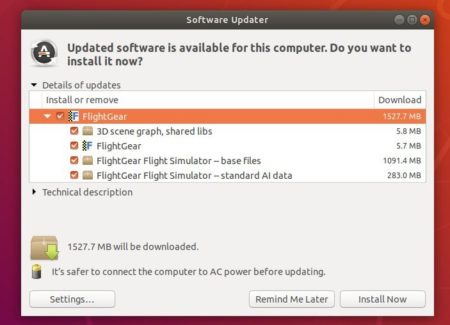
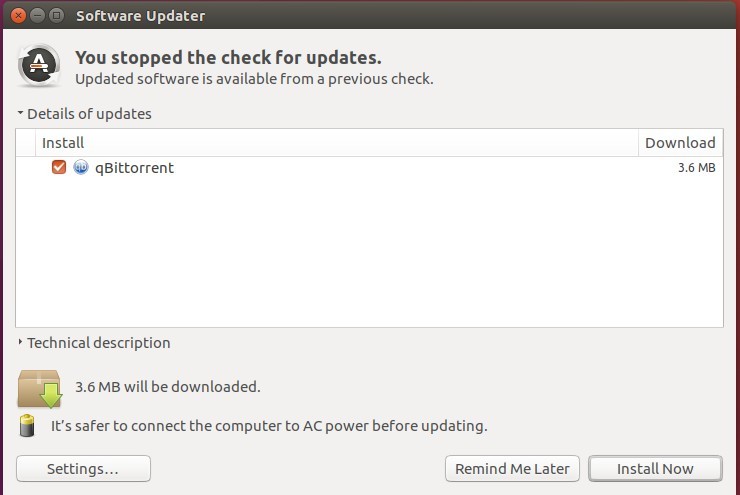
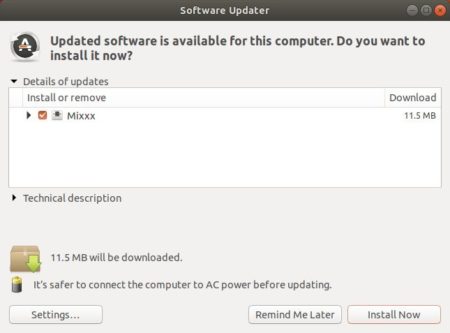
2. If a previous version exists, upgrade Qmmp using Software Updater:
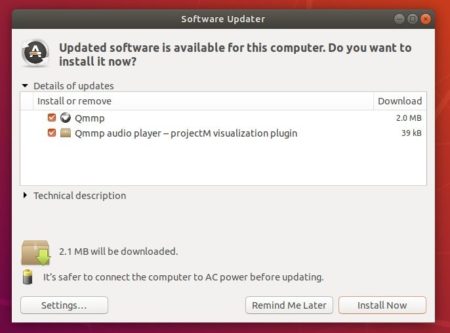
Or run commands to install or upgrade Qmmp and its plugins:
sudo apt-get update

sudo apt-get install qmmp qmmp-plugin-pack
Uninstall:
You can manage the PPA repository via Software & Updates utility, under Other Software tab.
To remove Qmmp music player, either use your system package manager or run command:
sudo apt-get remove --autoremove qmmp qmmp-plugin-pack