This simple tutorial shows how to install the latest Claws Mail email client 4.0.0 in Ubuntu 16.04, Ubuntu 18.04, Ubuntu 20.04, Ubuntu 21.10, and derivatives, e.g., Linux Mint.
Claws Mail 4.x now is a lightweight GTK3 email client features quick response and user-friendly UI. It’s a good choice for XFCE and MATE desktop running on old PC with limited system resources.
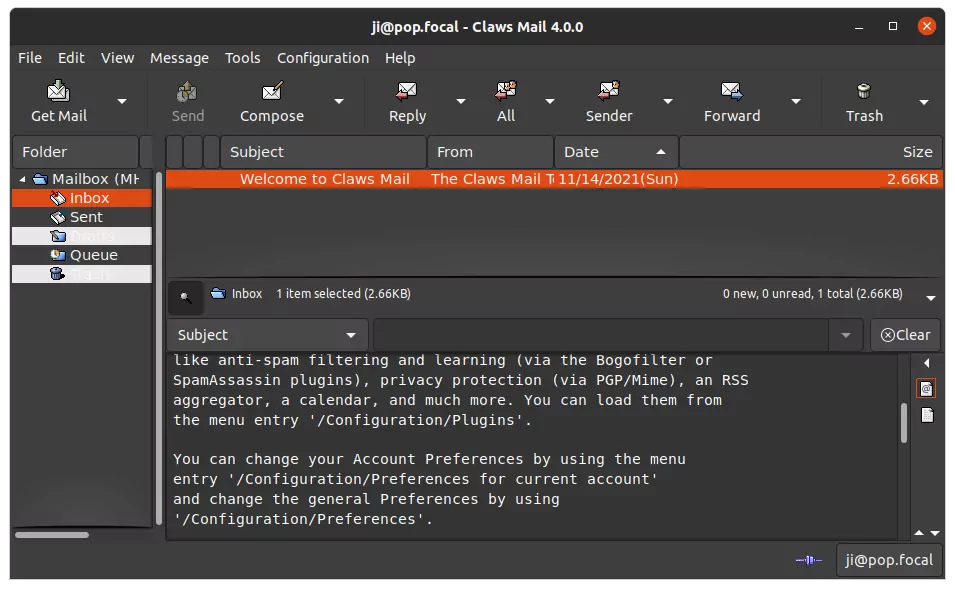
Claws Mail Dark Mode
Option 1: Install Claws Mail from Ubuntu repository:
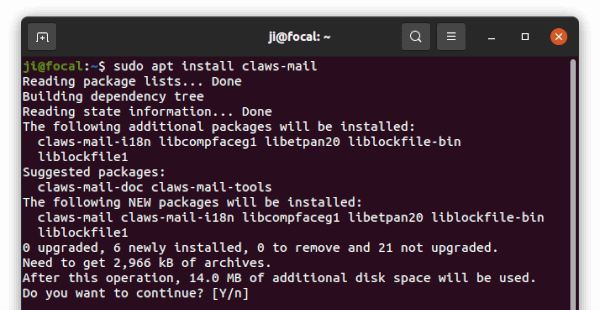
The email client is available in Ubuntu official repositories, though it’s always old! If you don’t stick to the latest features, press Ctrl+Alt+T on keyboard to open terminal. And, run command below to install it:
sudo apt install claws-mail
Option 2: Install the Latest Claws Mail via Flatpak package:
For the latest release, the mail client is also available as universal Flatpak package for modern 64-bit PC and AArch64 (aka ARM64) devices.
Flatpak app runs in sandbox and installs on most Linux systems. All current Ubuntu releases as well as the old Ubuntu 16.04 may install Claws Mail as Flatpak. Though Flatpak takes more disk spaces due to separate run-time libraries, it always up-to-date by installing updates automatically.
1.) First press Ctrl+Alt+T to open terminal. If you’re still running Ubuntu 18.04 and/or Ubuntu 16.04, run command to add the Flatpak stable PPA:
sudo add-apt-repository ppa:flatpak/stable && sudo apt update
2.) Install the Flatpak daemon package by running command:
sudo apt install flatpak

3.) Add the Flathub repository, which hosts the Flatpak packages:
flatpak remote-add --if-not-exists flathub https://flathub.org/repo/flathub.flatpakrepo

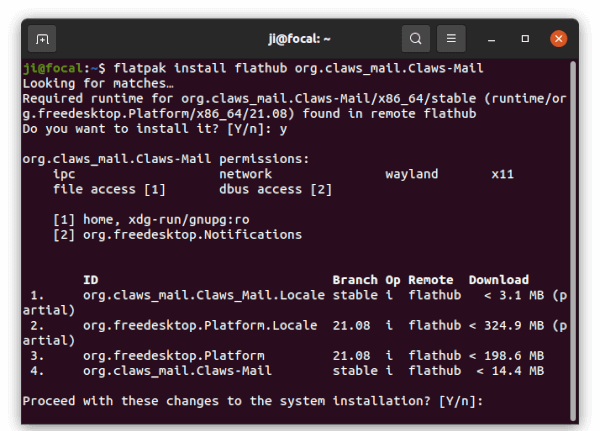
4.) Finally, install Claws Mail as Flatpak using command:
flatpak install flathub org.claws_mail.Claws-Mail
Once installed, search for and open the email client from start menu or activities overview and enjoy!
How to Remove Claws Mail Flatpak package:
For any reason, you may easily remove the software package by running command in terminal:
flatpak uninstall --delete-data org.claws_mail.Claws-Mail
And run flatpak uninstall --unused may also free up a few hundred MB disk spaces.
Option 3: Install Claws Mail 4.0 via Ubuntu PPA:
For those prefer the native DEB package, an unofficial Ubuntu PPA is available withe the 4.0.0 packages for Ubuntu 20.04, Ubuntu 21.04, and Ubuntu 21.10 on 64-bit PC.
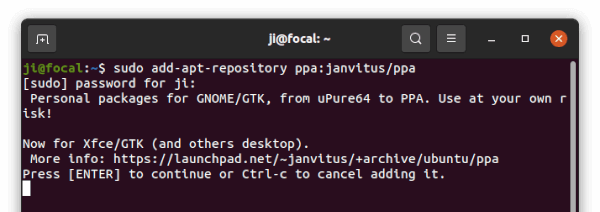
a.) First open terminal (Ctrl+Alt+T) and run command to add the PPA:
sudo add-apt-repository ppa:janvitus/ppa
Type user password when is asks while no asterisk feedback, and hit Enter to continue.
b.) Some Ubuntu based systems may need to manually refresh package cache after adding the PPA:
sudo apt update
c.) You can finally install Claws Mail 4.0 via command:
sudo apt install claws-mail
How to Remove Claws Mail installed via Apt command:
To remove the DEB package installed via apt command, simply run command in terminal:
sudo apt remove --autoremove claws-mail
And you may remove the Ubuntu PPA using command:
sudo add-apt-repository --remove ppa:janvitus/ppa
That’s all. Enjoy!