![]()
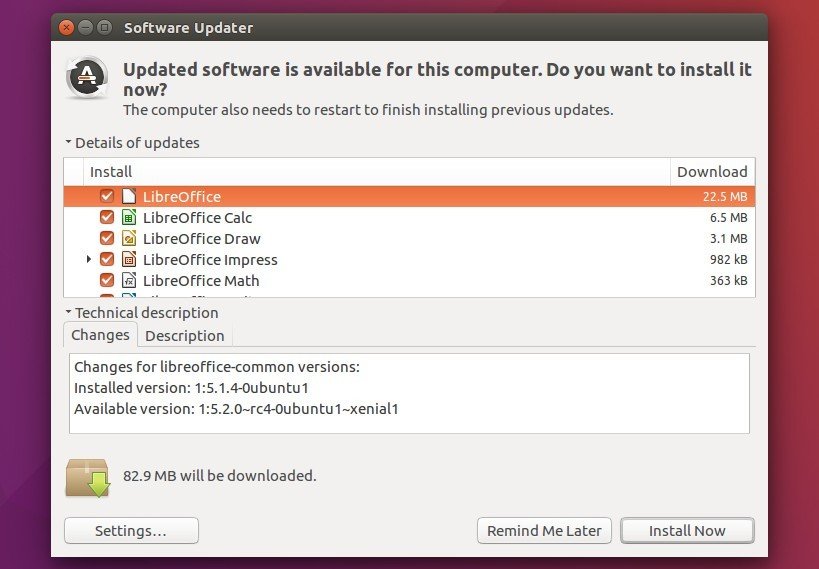
Ubuntu 16.04.2 LTS was released 2 days ago with security updates, corrections for high-impact bugs, and hardware enablement stacks for use on newer hardware.
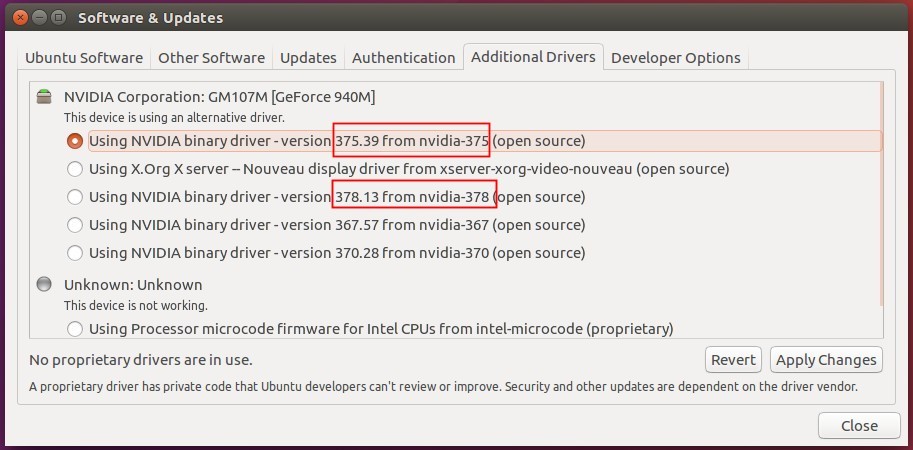
The LTS enablement stacks provide Linux Kernel 4.8 and newer X support, and they are included in the Ubuntu 16.04.2 desktop ISO images.

For original Ubuntu 16.04, and Ubuntu 16.04.1 users, you have to manually install the HWE stacks. And below will tell you how:
How to Install Hardware Enablement Stacks:
Open terminal from app launcher or via Ctrl+Alt+T shortcut key. When it opens, run command:
sudo apt-get install --install-recommends xserver-xorg-hwe-16.04
Type in your password (no visual feedback) and hit Enter.

After installation, reboot your computer.
How to Uninstall:
1. I don’t like the new X stack in my laptop, so I removed it via commands:
sudo apt remove xserver-xorg-core-hwe-16.04 xserver-xorg-input-all-hwe-16.04 linux-generic-hwe-16.04 xserver-xorg-video-all-hwe-16.04
You’ll see the command also removes the ubuntu-desktop package. Don’t worry. The following commands will install it back.
2. Then install back the original xserver-xorg via commands:
sudo apt install xserver-xorg-core

sudo apt install ubuntu-desktop xserver-xorg xserver-xorg-video-all xserver-xorg-input-all libgl1-mesa-dri:i386 libgl1-mesa-glx:i386
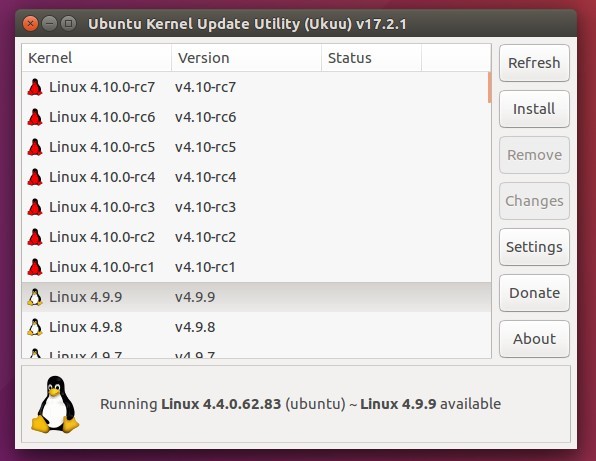
If you want to remove the new kernel 4.8, reboot and select boot with old 4.4 kernel (grub -> Advanced Options), then see this how to tutorial.