![]()
A new release of the open-source office suite, LibreOffice 4.4.3, now is available for upgrade in Ubuntu 15.04, Ubuntu 14.04, Ubuntu 12.04, Ubuntu 14.10 and derivatives.
LibreOffice 4.4.3 is the third bug-fix release from the 4.4 branch which brings over 88 bug-fixes. As such, the version is stable and is suitable for all users. The Document Foundation does not announced the 4.4.3 release at the moment, but the official PPA has been updated with packages for Ubuntu 12.04 and higher.

How to Upgrade LibreOffice:
As the PPA description says, it is way better to use packages from the PPA than using the *.deb files that The Document Foundation provides upstream in its website, which are intentionally build against a very old baseline for maximum compatibility.
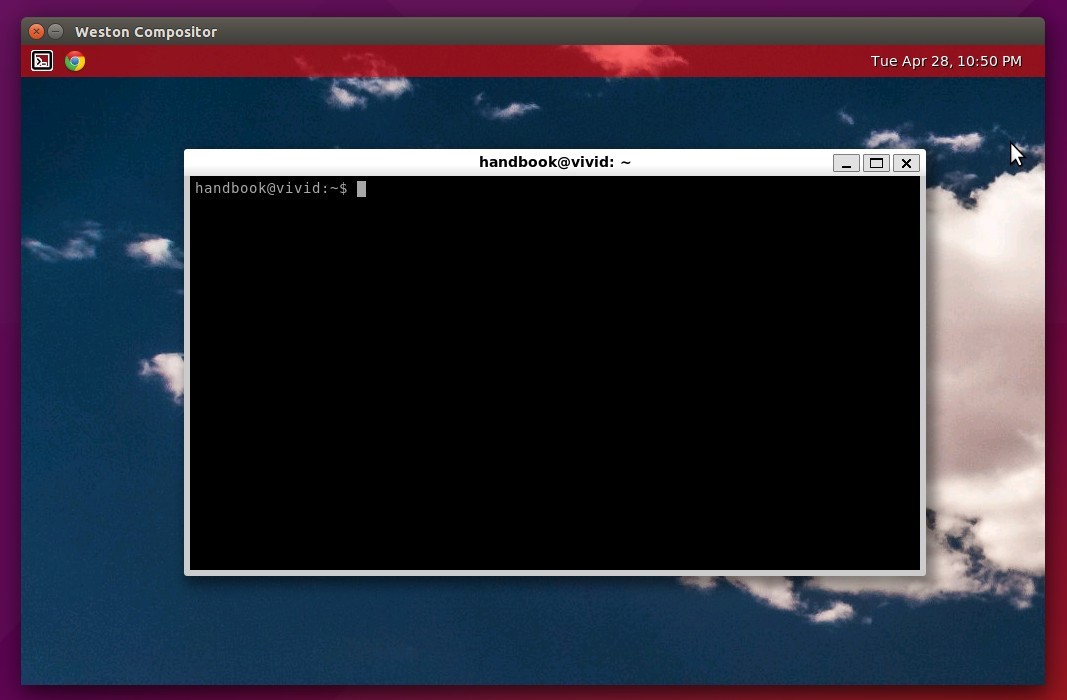
1. So if you want to upgrade LibreOffice, open terminal from the Dash/Menu (or press Ctrl+Alt+T). When it opens, run commands to add its PPA:
sudo add-apt-repository -y ppa:libreoffice/ppa

2. After adding the PPA, you can install/upgrade the office suite by:
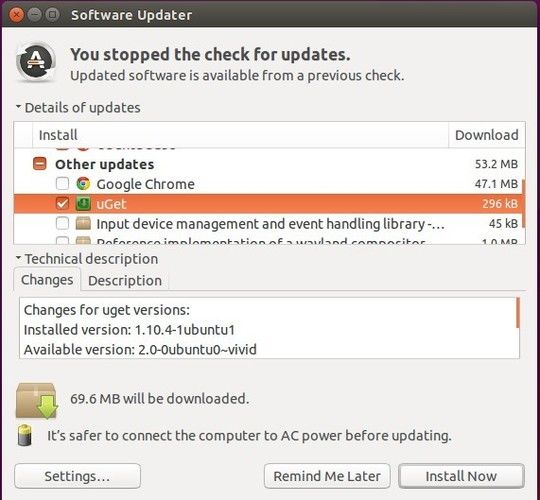
- opening Software Updater and installing available updates after checking for updates.
- or by running below commands one by one directly in terminal:
sudo apt-get update

sudo apt-get install libreoffice
3.(Optional) If for some reason, you want to remove the new release and revert your office installation. Run commands to install ppa-purge and purge the Libreoffice PPA which also downgrade all installed packages from that repository.
sudo apt-get install ppa-purge

sudo ppa-purge ppa:libreoffice/ppa
That’s it.