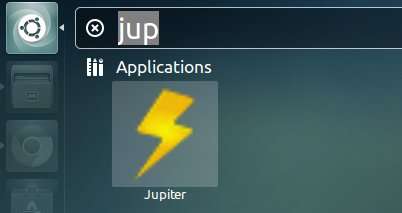
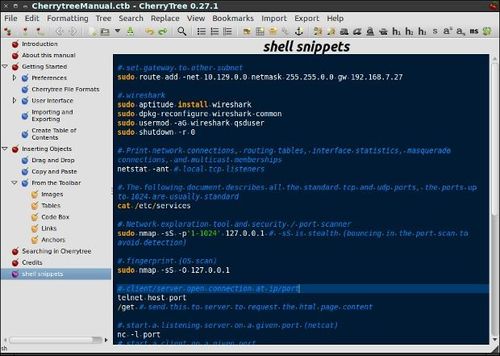
As you may know, Jupiter is a powerful and lightweight power and hardware control applet. It has been retired and last supported release is up to Ubuntu 12.10 Quantal. However, Jupiter is available for Ubuntu 13.04 from JoliCloud Desktop Environment PPA.
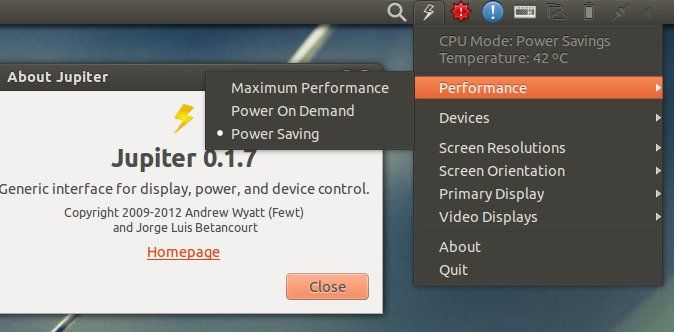
The webupd8team add the packages to the ppa and it’ll be used as a background program for JoliCloud session. I’ve installed it on my laptop and it’s working well.
Install Jupiter on Ubuntu 13.04:
Note that don’t install it on a product machine. Use it as your own risk!
Press Ctrl+Alt+T on your keyboard to open terminal. When it opens, run below command to add the PPA repository:
sudo add-apt-repository ppa:jolicloud-team/ppa
Then update package lists and install:
sudo apt-get update; sudo apt-get install jupiter
To install Jupiter support package for Eee PCs:
sudo apt-get install jupiter-support-eee