![]()
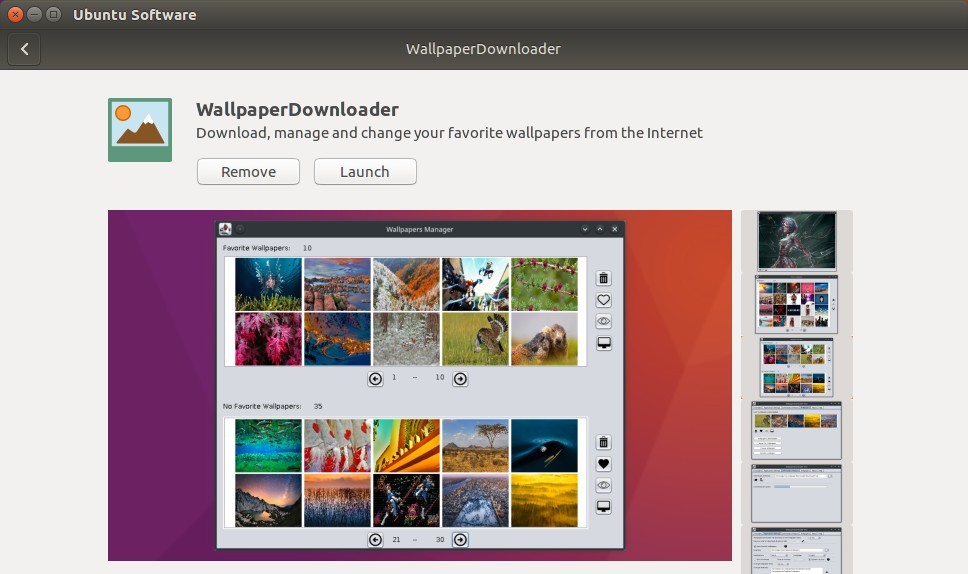
Wallpaper Downloader is a java software to automatically download you favorite wallpapers from internet and set as desktop background every few minutes.
With the software, you can:
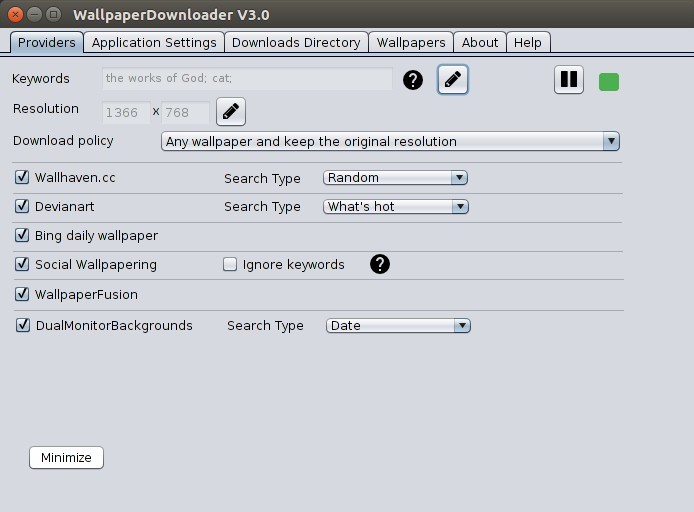
- Automatically download wallpapers from:
- Wallhaven.cc
- Devianart
- Bing daily wallpaper
- Social Wallpapering
- WallpaperFusion
- DualMonitorBackgrounds.
- Download wallpapers with given keywords.
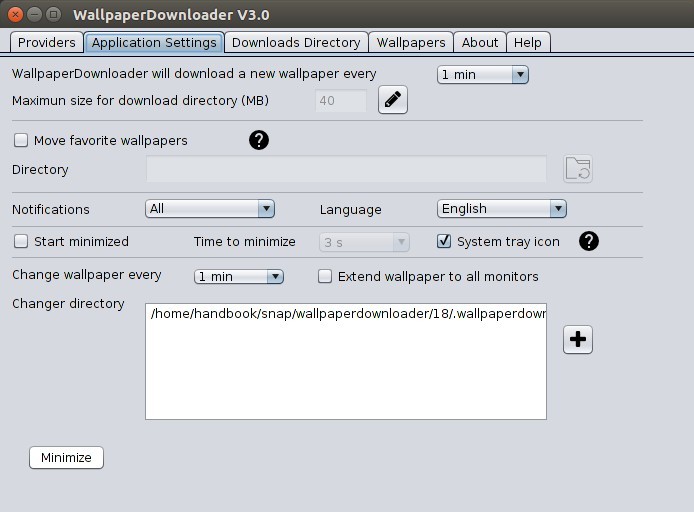
- Download wallpapers with given time interval
- Changes desktop wallpaper with given time interval.
- Single click to move favorite wallpapers to another directory.
How to Install Wallpaper Downloader in Ubuntu:
1. For users (Ubuntu 16.04 only) never installed a snap package, open terminal (Ctrl+Alt+T) and run command to install snapd:
sudo apt-get install snapd snapd-xdg-open

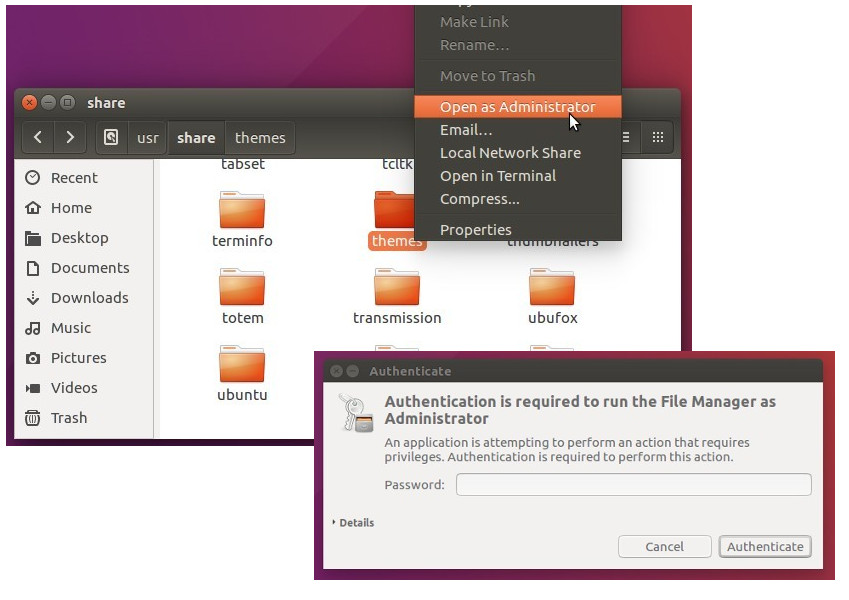
2. As a snap package, you can search for and install the package in Ubuntu Software:
or run single command to install the snap package:
snap install wallpaperdownloader

(Optional) If you don’t like the software, simply run command to remove the snap:
snap remove wallpaperdownloader
In addition, the software also has an official PPA with traditional deb packages for all current Ubuntu releases.