This tutorial shows you how to install the most recent Rubyripper on Ubuntu 22.04, Ubuntu 20.04, and Linux Mint 21.
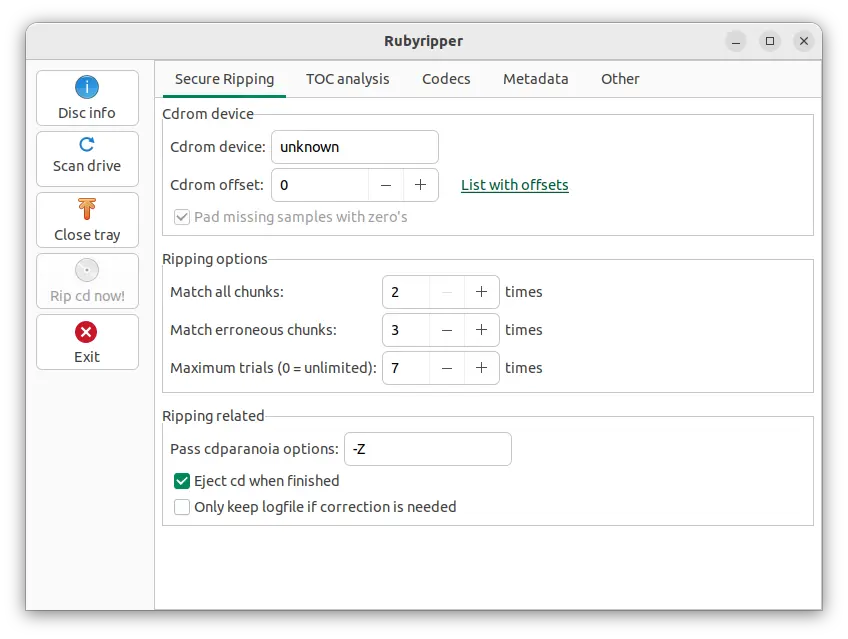
Rubyripper is a secure audiodisc ripper for Linux and macOS. It uses cdparanoia in a sophisticated way to make sure that a CD rip is done successfully and accurately. It is very similar to and inspired by EAC. Rubyripper is written in the ruby programming language.
Install RubyRipper in Ubuntu via PPA
Besides building the app from source code, there’s an Ubuntu PPA that so far contains the app packages for Ubuntu 23.10, Ubuntu 22.04, Ubuntu 20.04, and even Ubuntu 18.04.
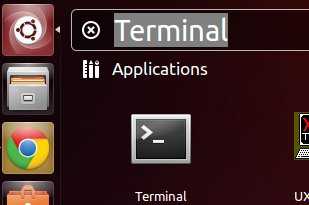
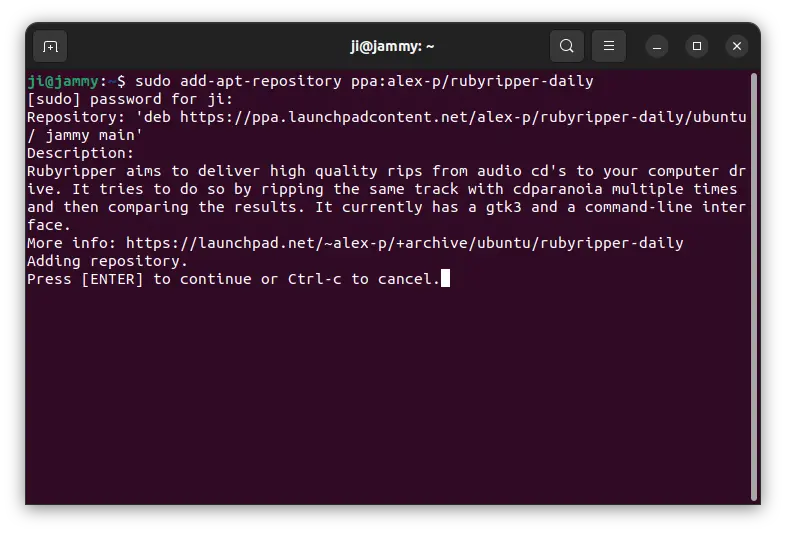
1. To add the PPA, press Ctrl+Alt+T on keyboard to open up a terminal window. Then run command:
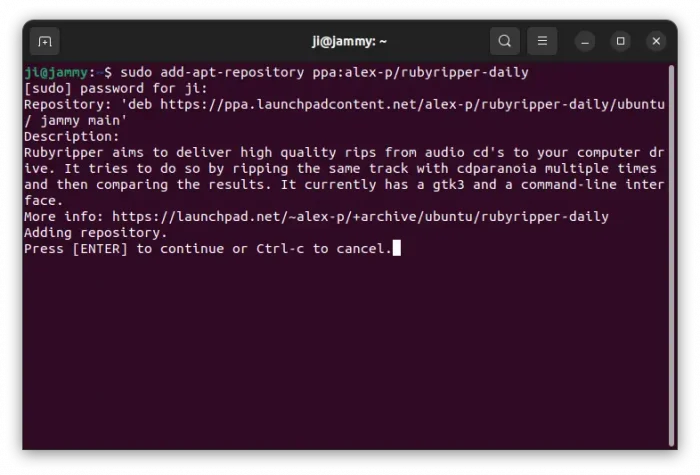
sudo add-apt-repository ppa:alex-p/rubyripper
Type user password (no asterisk feedback) when it asks and hit Enter to continue.
2. Then, refresh system package cache, though it should be done automatically in current Ubuntu releases.
sudo apt update
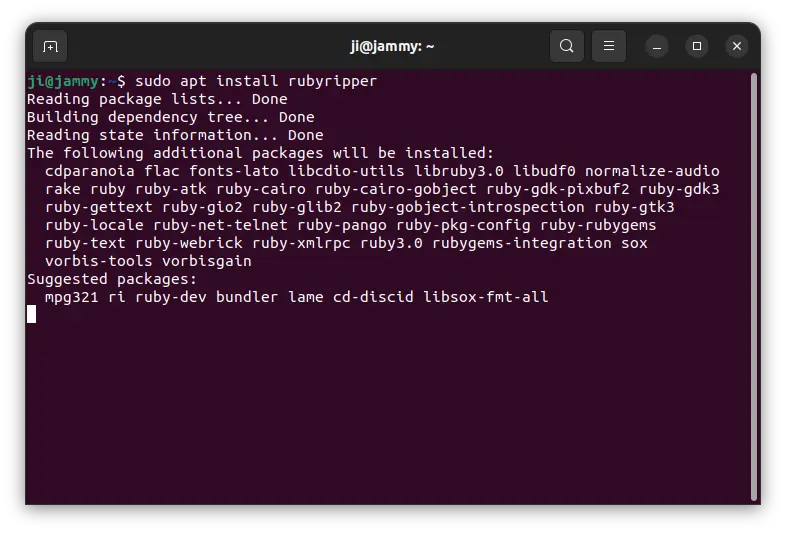
3. Finally, run command to install the app from PPA:
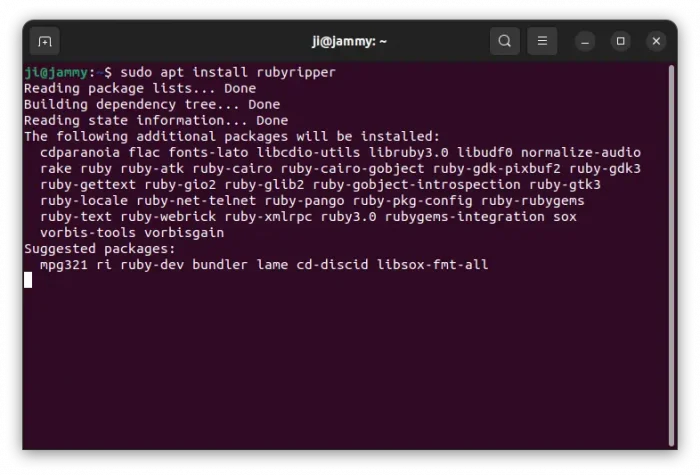
sudo apt install rubyripper
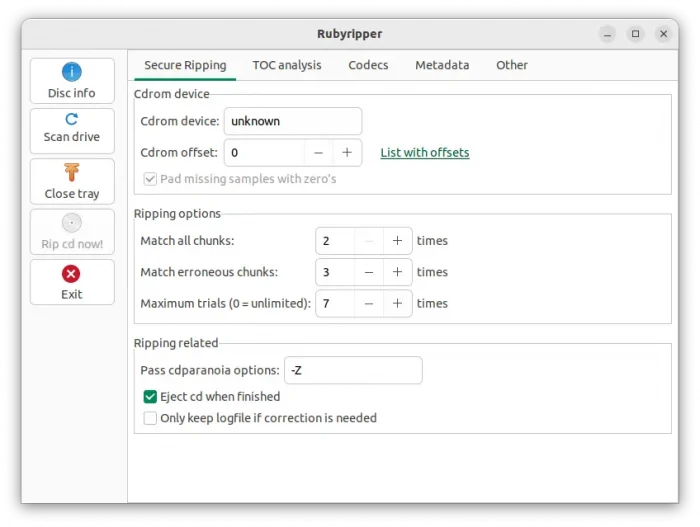
Once installed, search for and launch it from either start menu or overview screen depends on your desktop environment, and enjoy!

Uninstall Rubyripper
To uninstall the app package, open terminal (Ctrl+Alt+T) and run command:
sudo apt remove --autoremove rubyripper
Also remove the Ubuntu PPA by running command:
sudo add-apt-repository ppa:alex-p/rubyripper-daily
Finally refresh cache via sudo apt update command if it’s not done automatically.